This is the 2nd article of a Dashboard development series. You can check all the articles by clicking here
The Overview component is the page that is showed when you click the menu item. Before we create the component, we need to create first the AngularJS module.
Go to the File stores, in /public/hvacDashboards, and create a hvac.js file. The basic structure is this one:
Note: If you are working in local, you can open the
public/hvacDasboardsdirectory with you favorite IDE by opening theMANGO_ROOT/filestore/public/hvacDashboardsdirectory.
/**
 * @copyright 2020 {@link http://infiniteautomation.com|Infinite Automation Systems, Inc.} All rights reserved.
 * @author Luis Güette
 */
define([
'angular',
'require',
], (
angular,
require
) => {
'use strict';
const hvacModule = angular.module('hvacModule', ['maUiApp']);

hvacModule.config([
    'maUiMenuProvider',
    (maUiMenuProvider) => {
        maUiMenuProvider.registerMenuItems([

        ]);
    }
]);

return hvacModule;

}); // define
Now, let's create the overview.js and overview.html files, inside pages/overview directory.
overview.js
/**
 * @copyright 2020 {@link http://infiniteautomation.com|Infinite Automation Systems, Inc.} All rights reserved.
 * @author Luis Güette
 */
define(['angular', 'require'], (angular, require) => {
'use strict';
class OverviewController {
    static get $$ngIsClass() {
        return true;
    }

    static get $inject() {
        return [];
    }

    constructor() {

    }

    $onInit() {

    }
}

return {
    bindings: {},
    controller: OverviewController,
    templateUrl: require.toUrl('./overview.html')
};

});
overview.html
<h1>Overview</h1>
Let's update the module to include the overview page:
/**
 * @copyright 2020 {@link http://infiniteautomation.com|Infinite Automation Systems, Inc.} All rights reserved.
 * @author Luis Güette
 */
define([
'angular',
'require',
'./pages/overview/overview.js',
], (
angular,
require,
overview
) => {
'use strict';
const hvacModule = angular
    .module('hvacModule', ['maUiApp'])
    .component('hvacOverview', overview);

hvacModule.config([
    'maUiMenuProvider',
    (maUiMenuProvider) => {
        maUiMenuProvider.registerMenuItems([
            {
                name: 'ui.overview',
                url: '/overview',
                menuIcon: 'map',
                template: '<hvac-overview></hvac-overview>',
                menuText: 'Overview',
                weight: 100
            },
        ]);
    }
]);

return hvacModule;

}); // define
We use maUIMenuProvider to add custom menu items to the sidebar. The registerMenuItem method receives as a param an array of menu items, each menu item has:
- name: It is an unique identifier of the menu item, it defines its position depending on the structure in the menu. In this case,
ui.overviewset the item at the top of theuiin the menu. - url: The relative url, it depends on the
nameattribute. - menuIcon: It is the menu icon. You can use icons from Font Awesome or Material icons
- template: You can set an HTML template. In this case, we load the component that we just added
- menuText: It is the name of the menu item.
- weight: It defines the position of the link in the menu list. The greater the number, the closer to the 1st position.
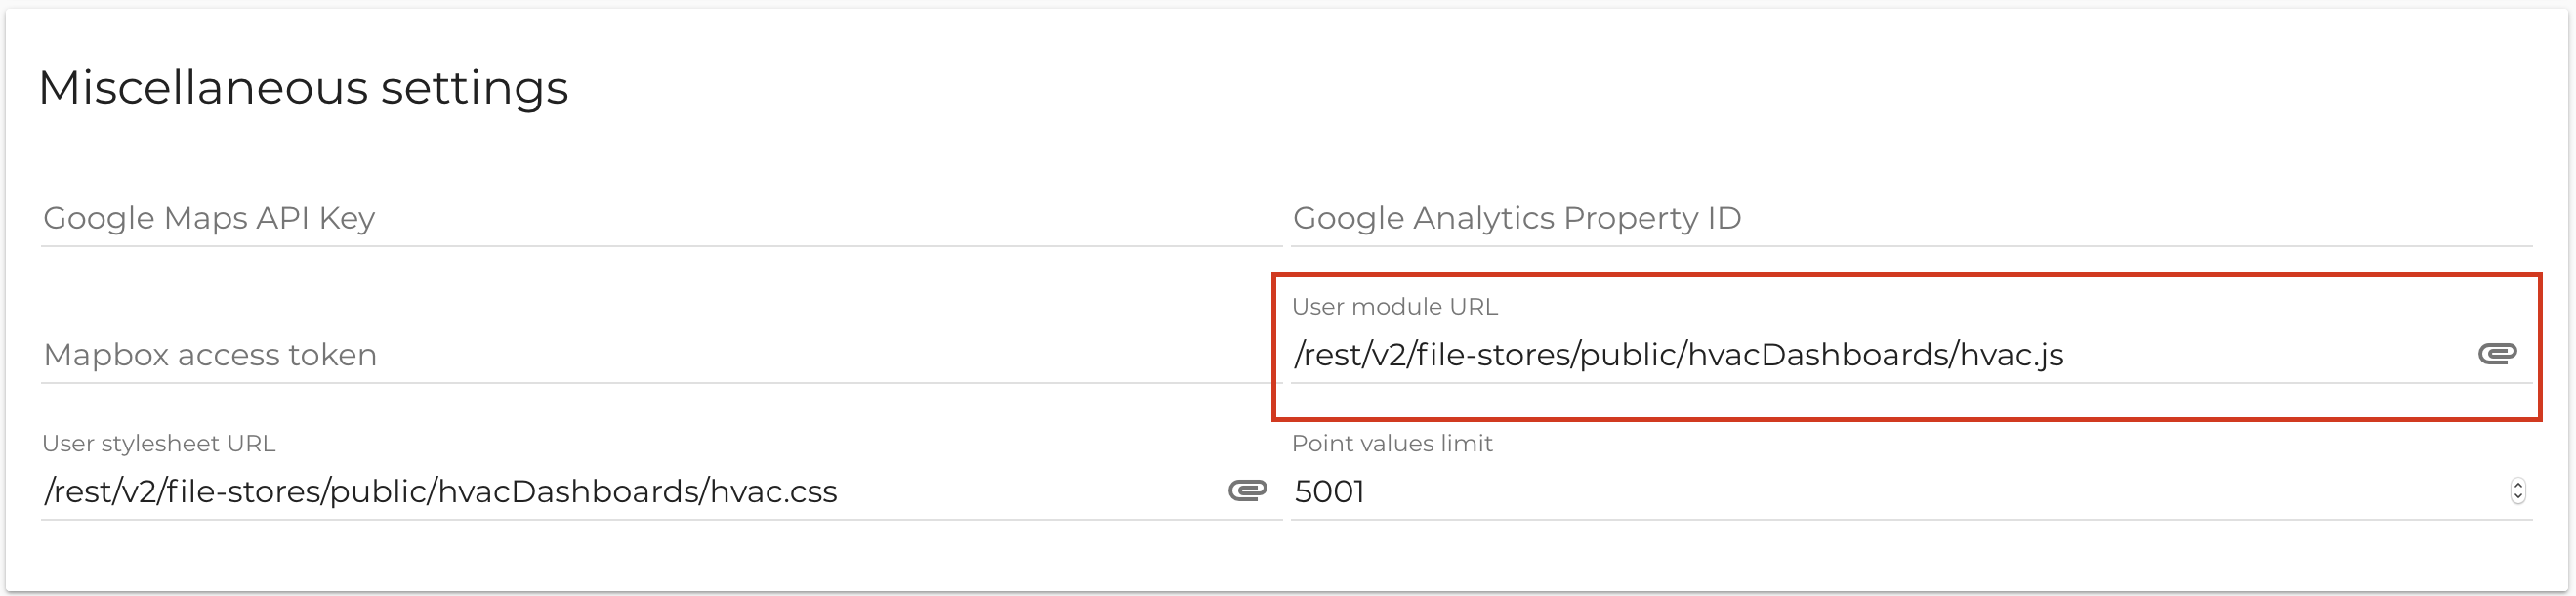
Go to the UI settings page, Miscellaneous settings, and set the user module URL the AngularJS module that we just created (remember to click on Save button):
Reload the page, and you will see the Overview menu item and the HTML that we defined before:

Now, let's create a basic two columns layout to prepare the view for the next step.
<div layout="row" layout-wrap layout-align="space-between start">
    <div flex="100" flex-gt-sm="50" flex-gt-md="60">
        <p>Column 1</p>
    </div>
    <div flex="100" flex-gt-sm="50" flex-gt-md="40">
        <p>Column 2</p>
    </div>
</div>
this will a responsive layout with 2 columns to start with.
We have all the necessary pieces to start the development of the Map component.
Go to Create map component