Custom pages can be created from within the app's CMS environment, using our built in Code Editor and UI Component Library to create and link new pages to the app. Mango's HTML Components combined with Angular's templating syntax allows you to create dynamic pages of any complexity, pulling data from Mango's database and visualizing the data as responsive interface elements, charts and tables. Interactive Demos and Examples can be found under the Examples menu section. Full documentation of all parameters of each component can be found under API Docs. You may need to enable these menu items to see them.
The Page Editor
The Page Editor can be found under Administration > Edit pages in the menu. You can use this tool to manage all of your custom pages.

The drop down to the left of the icon buttons allows you to choose an existing page to edit. The New page icon will set-up a blank page for you to work with. The Save icon will save your changes to the page you are currently editing. Before you can Save a new page you will need to give it a Page name. The Delete icon will remove a page from the system after confirming.
Be sure to Save changes to your page often. You can use the keyboard hot-key Ctrl/Cmd+S to quickly save your changes to the code without leaving the keyboard.
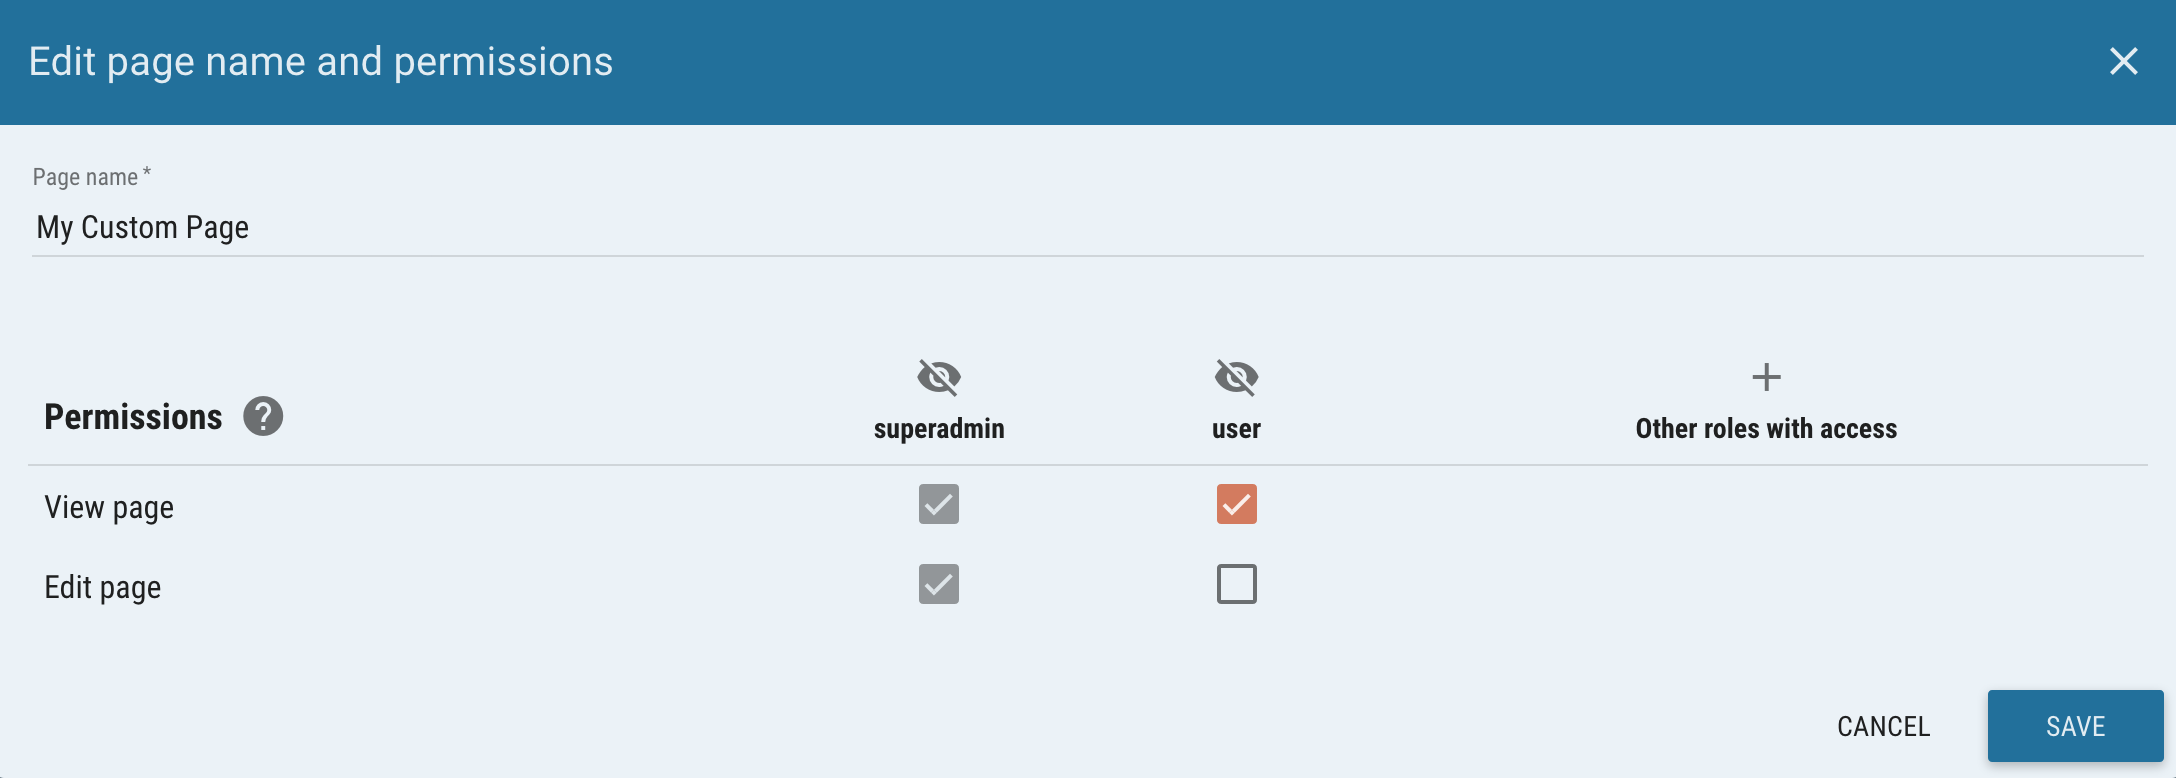
The Edit name and permissions button will open the controls for editing page properties. Read / Edit Permissions can be used to prevent access to a page based on user permissions. Page name can be updated independently of of pages menu item and url.
Editing Code
You will enter HTML into the code editor on the left. If you prefer you can work in your desktop code editor of choice and copy your code into the Editor pane.
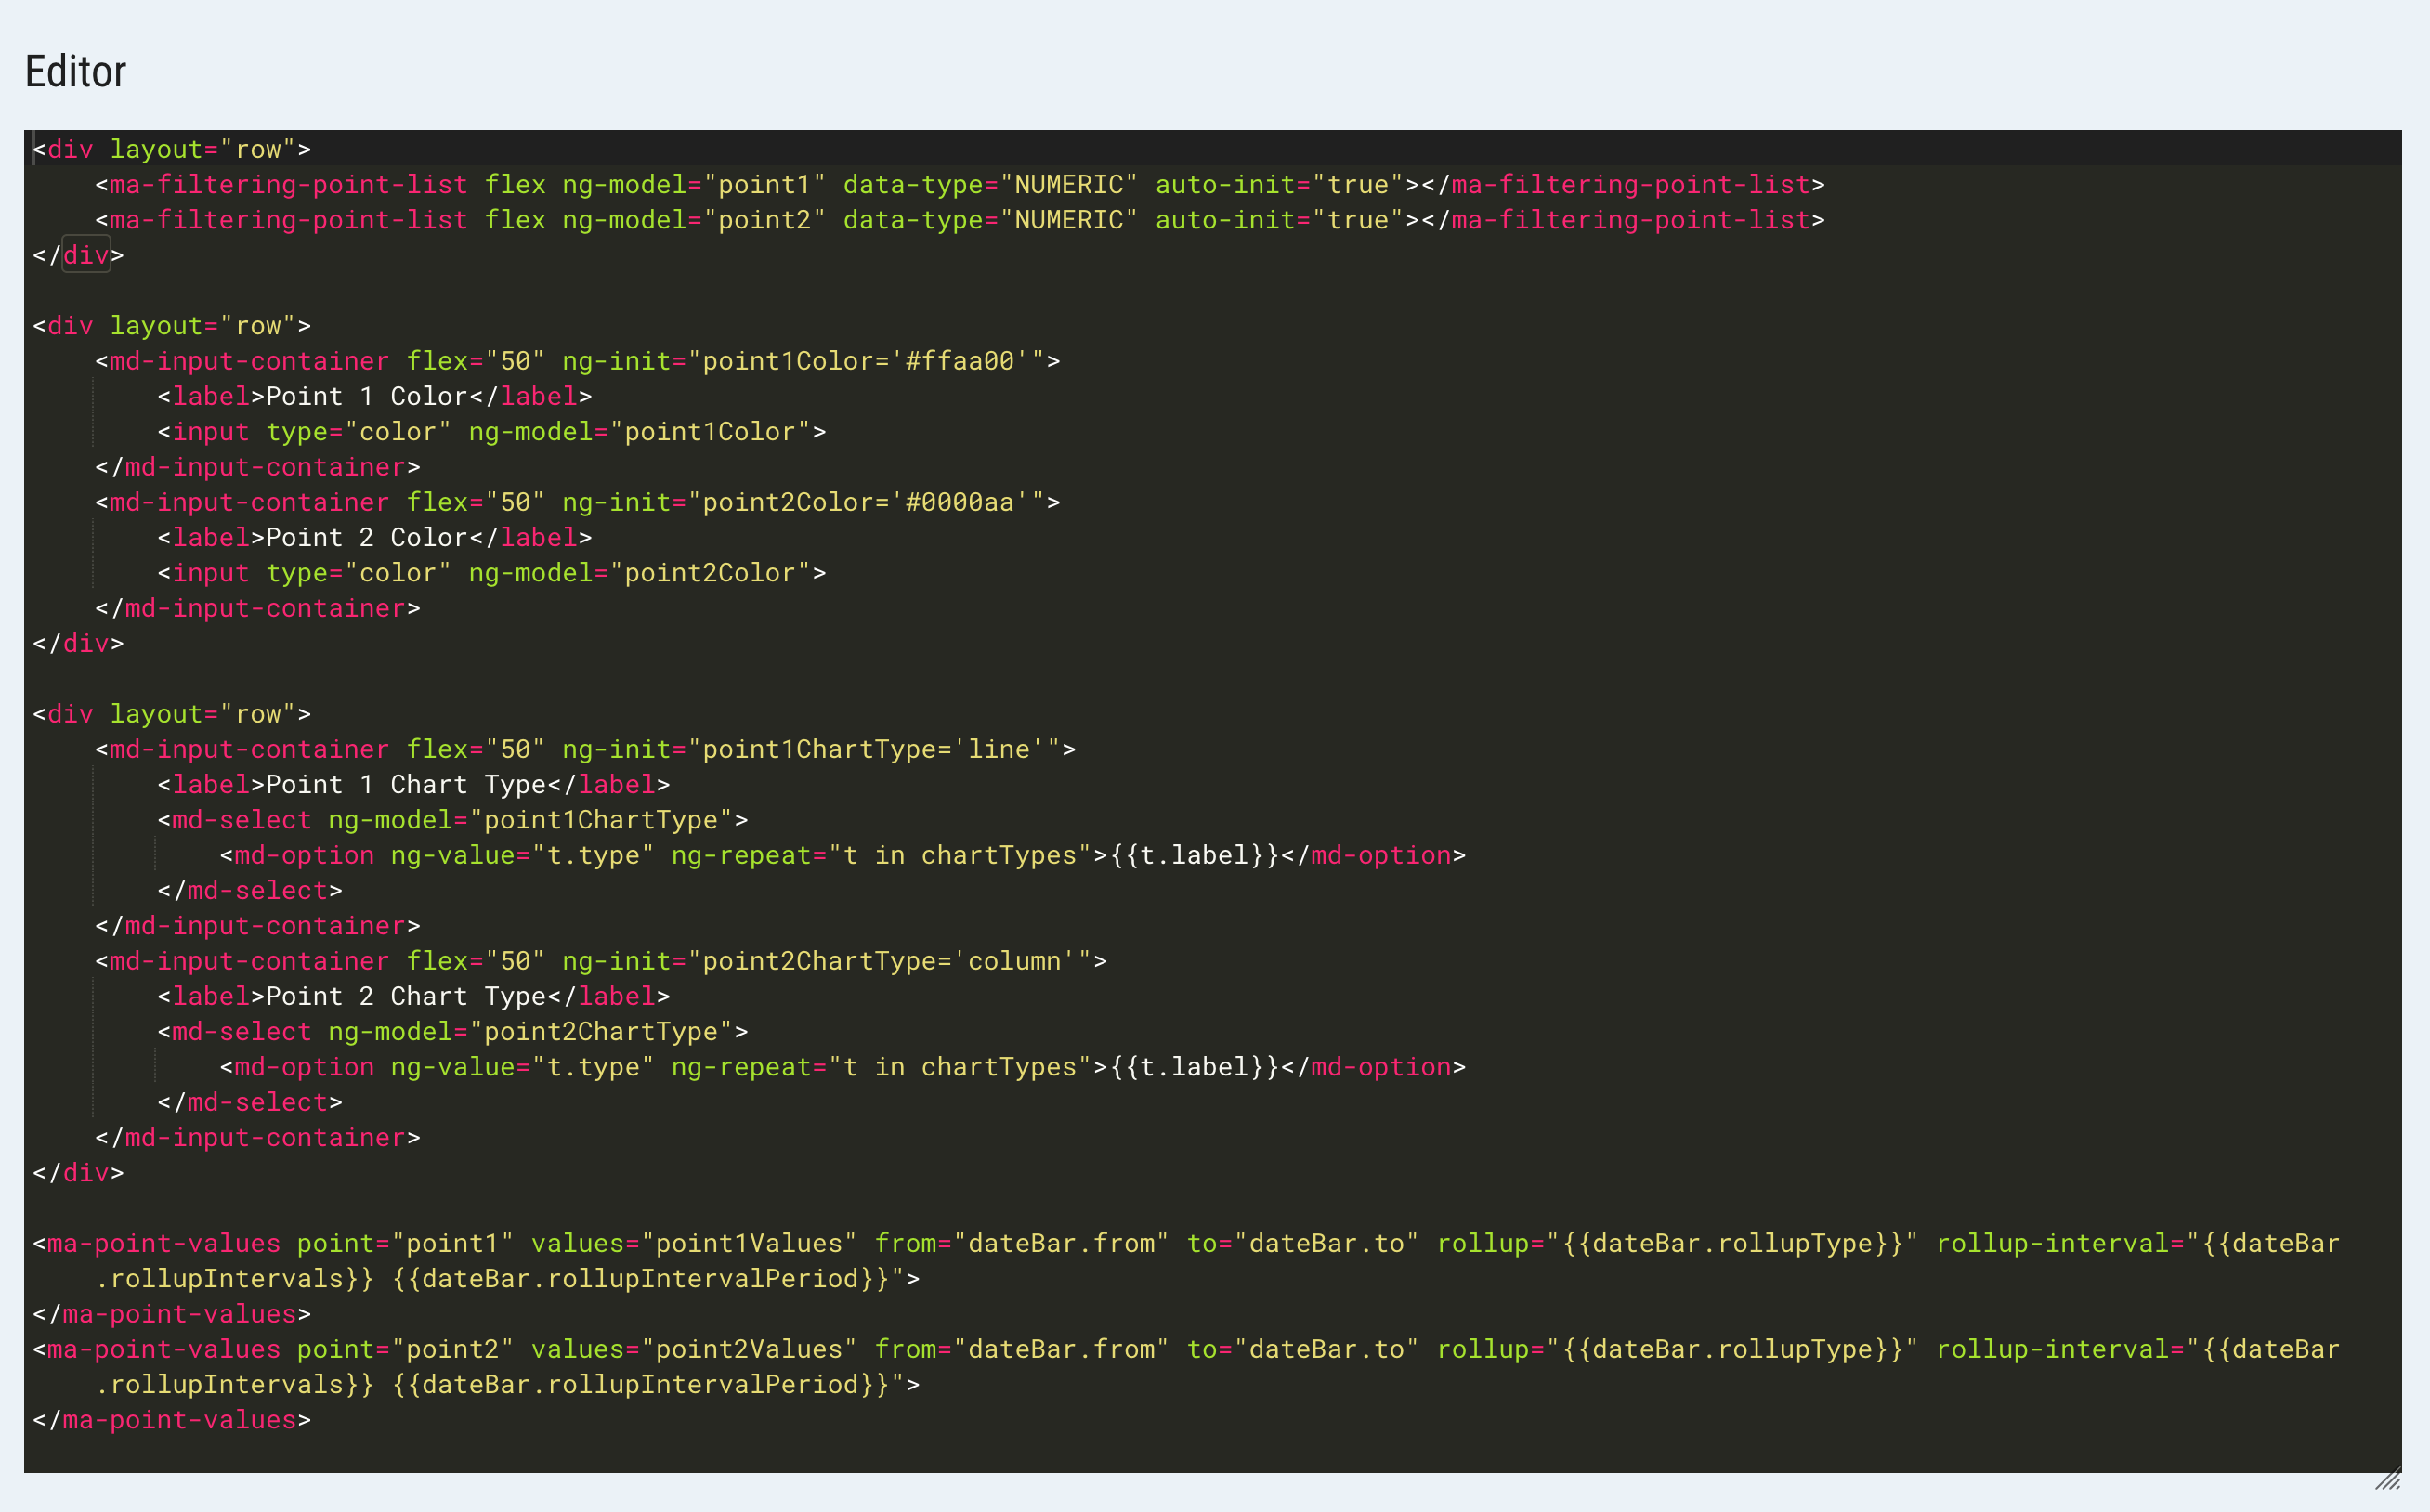
You can toggle on and off the Editor pane and Preview pane, allowing you to view just one pane or both in a side-by-side view.
Previewing the Page
You will see a live preview of your page in the Preview pane on the right as you enter code. At any time you can Save and View the page in full screen (F11) or even from a different browser or mobile device.
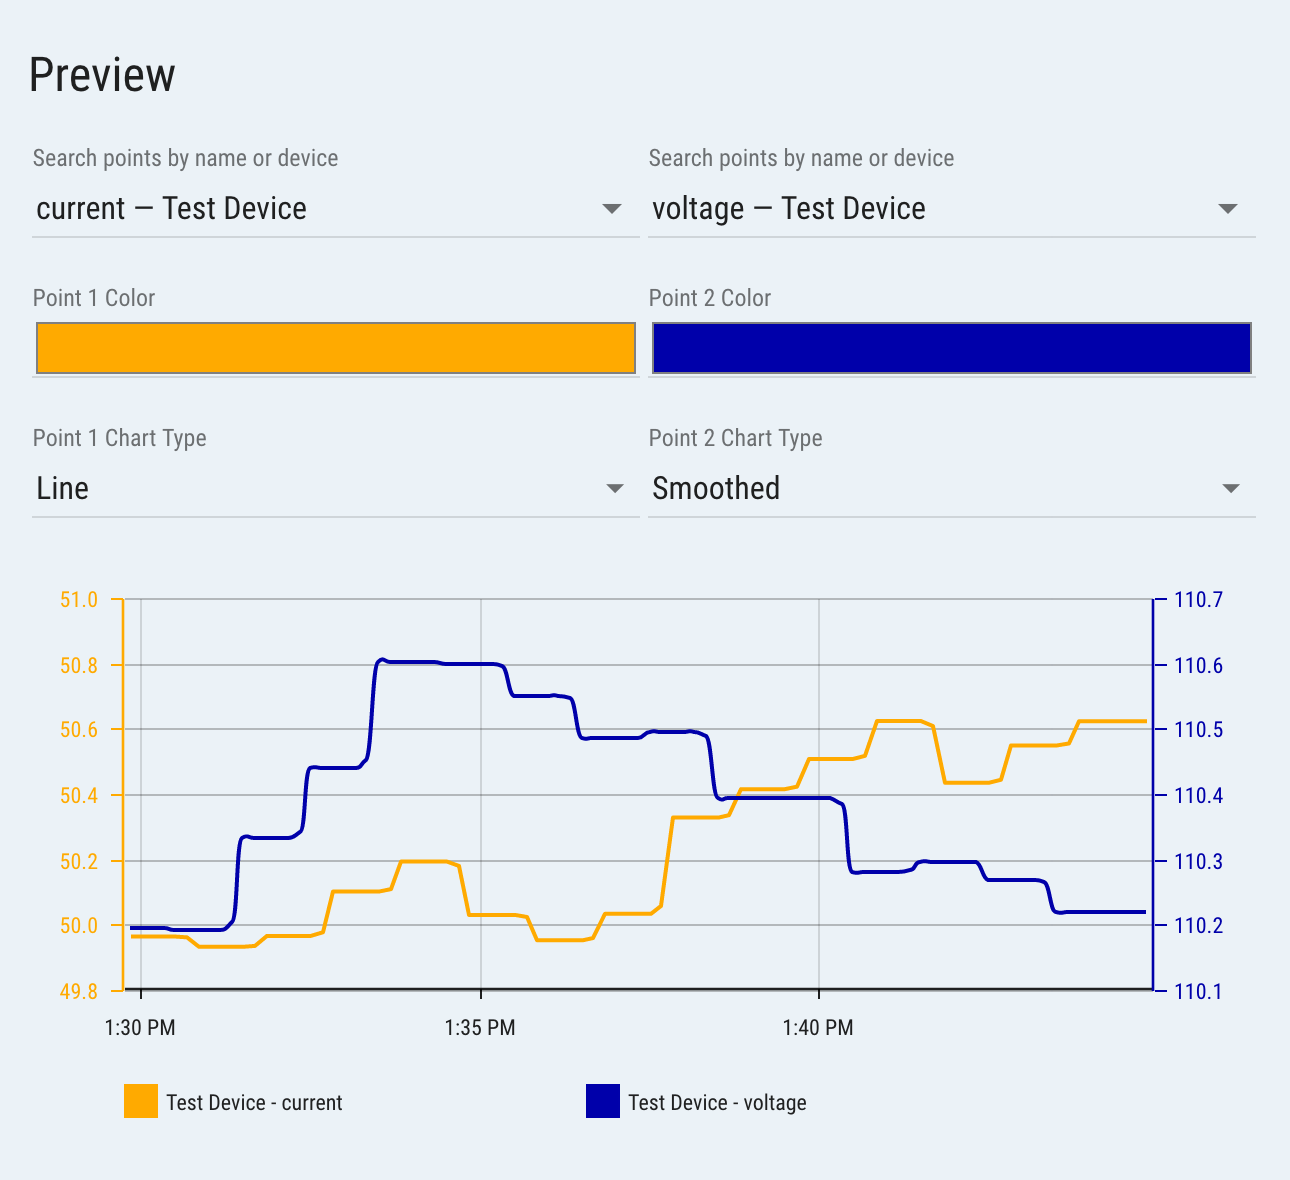
The View page icon will open the last saved state of the page in a new tab. This is the same URL that you can use to share the page with somebody and will be used by the page's menu item.
Starting from an Example or Template
A quick way to get started is to click the Copy markup to new custom page link from any of the example pages. This will create a new page with the code copied into it.
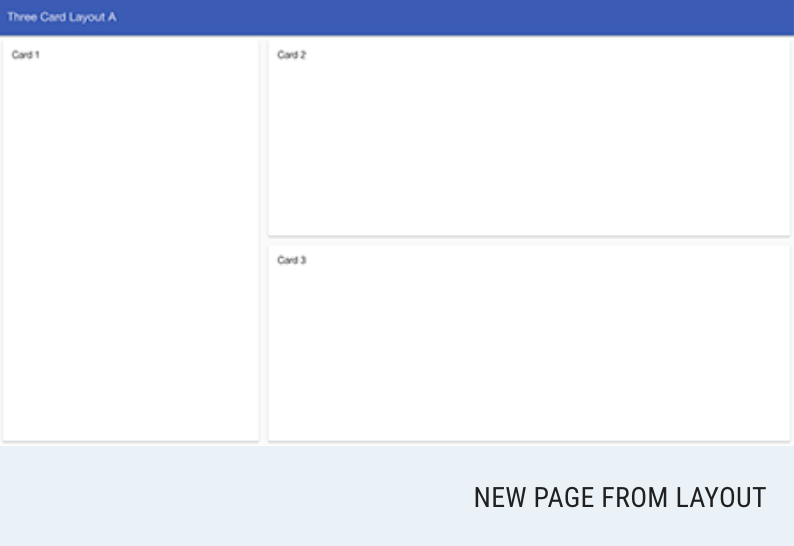
If you are looking to start with a pre-made layout you can also copy one of the Adaptive Layout templates as a starting point. Click the New Page From Layout button to create a new page using the layout shown. These examples give you a predefined responsive layout that you can adapt to your needs.
Adding Your Own Images
If you would like to include your own images on a page you upload them using the File store. You can then insert the image onto a page using:
<img src="/rest/v2/file-stores/default/MyImage.jpg" alt="My Image"/>
Permissions
By default, all pages that are created can be viewed users with user (the default permission for a new user) permission but require the user to have edit-ui-pages permission to edit them. If you want to restrict the pages to be viewable only by admin users, change the read permission to superadmin.
Users with the edit-ui-menus permission can edit the menus. When editing the menu items you can set a permission for each menu item, if the user does not have this permission the menu item will not be shown.
Adding a Menu Item
The Add/Edit Menu Item icon will open up the Edit menu item dialog.
From here you will give the menu item a Parent item, URL, Menu text, and Menu icon. The entire menu is completely customizable from the Menu Editor under Administration > Edit menu in the menu, or at the URL /ui/administration/edit-menu. For more information see the Menu Help Page.